Shelf Life Testing Without a Big Lab Budget
Determining how long your food product stays safe, appetizing, and market-ready is one of the most critical steps before launching a brand. However, commercial laboratory testing packages for shelf life testing food product protocols often cost thousands of dollars per stock-keeping unit.
For bootstrapped food founders, cottage food operators, and small-batch producers, these upfront testing fees can feel like an insurmountable barrier. Fortunately, you do not need a multi-million-dollar laboratory to execute reliable shelf-life testing protocols for food products.
Understanding food stability testing comes down to controlling a few key variables: moisture, acidity, temperature, and exposure to light or oxygen. Choosing appropriate packaging materials and exploring sustainable food packaging options can also help protect products from environmental exposure.
By using accessible measuring tools, establishing strict hygiene controls, and running organized real-time stability trials, small producers can systematically determine accurate best before date setting benchmarks while protecting consumer safety and product quality.
The Core Fundamentals of Food Product Stability
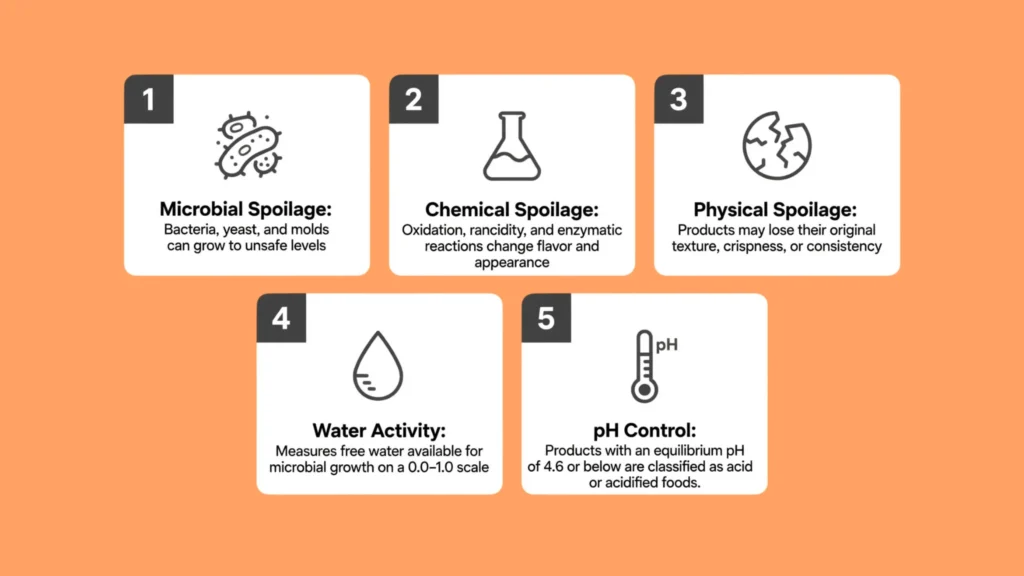
Before setting up tests, it is essential to understand what actually causes food to spoil. Spoilage typically happens through three distinct pathways: micro-biological, chemical, and physical.
Microbial spoilage occurs when bacteria, yeast, or molds reproduce to unsafe levels. Chemical spoilage involves oxidation, rancidity of fats, or enzymatic reactions that alter flavor and appearance. Physical spoilage includes textural breakdown, such as a crisp cookie becoming soggy or a sauce separating over time.
To evaluate these pathways without complex machinery, food formulators focus heavily on two primary intrinsic factors: pH levels and water activity.
The Significance of Water Activity
Water activity measures the unbound, free water available in a food matrix that microorganisms need to grow. It is measured on a scale from 0.0 to 1.0.
Distinct from total moisture content, water activity determines biological risk. A product can have high moisture but low water activity if the water is bound tightly by sugars or salts.
Most pathogenic bacteria require a level above 0.91 to multiply. Standard molds and yeasts can grow down to roughly 0.60. Products maintained below 0.60 are generally considered shelf-stable against microbial growth.
Investing in an entry-level benchtop water activity meter or partnering with a local university extension program to get baseline readings can save thousands of dollars in ongoing laboratory fees.
The Role of pH Control
Acidity plays an equally vital role in food preservation. A digital pH meter, available relatively inexpensively, allows you to track whether your product stays in a safe zone.
Products with an equilibrium pH of 4.6 or below are classified as acid or acidified foods. Microorganisms like Clostridium botulinum cannot produce dangerous toxins below this threshold.
Monitoring pH consistency across batches ensures that your formulation retains its built-in safety barriers over time. Small producers should also understand the relevant food safety certifications required to demonstrate compliance with applicable food safety standards.
Essential Low-Cost Tools for In-House Testing
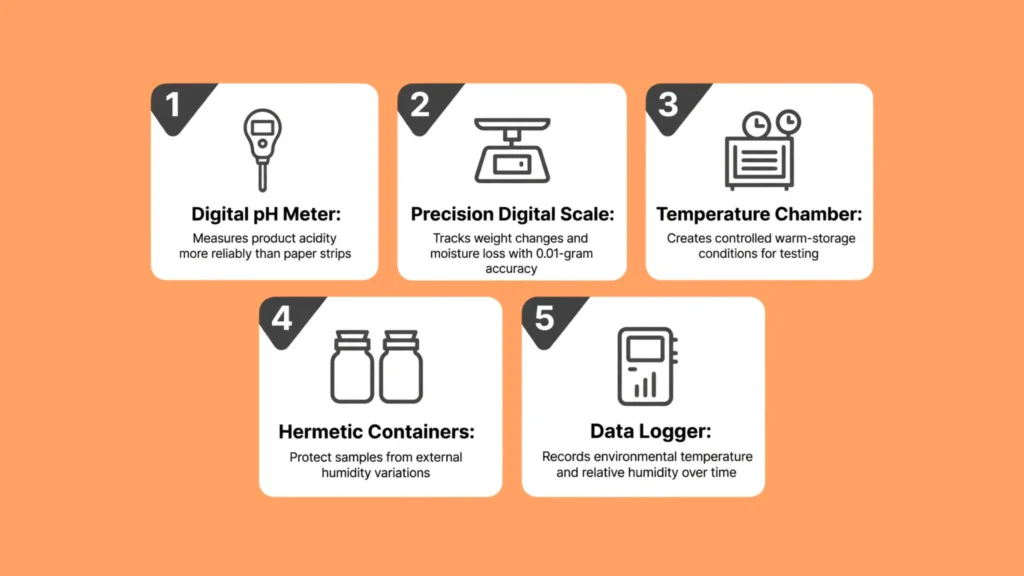
Setting up an internal shelf life testing system requires a controlled environment and a few precision instruments. For businesses planning to scale production, understanding food manufacturing and packaging requirements can also help when evaluating potential co-packing partners.
Here is the foundational equipment needed for a small-scale setup:
Digital pH Meter: A calibrated digital meter provides reliable readings of product acidity compared to imprecise paper strips.
Precision Digital Scale: Accurate to 0.01 grams, necessary for tracking weight loss due to moisture evaporation during storage.
Incubator or Temperature Chamber: A simple modified cabinet or thermal box fitted with a reliable heat source and thermostat to simulate warm environments.
Hermetic Containers: Airtight storage boxes to isolate samples from external humidity variations.
Data Logger: A small electronic sensor to continuously track ambient temperature and relative humidity in your testing space.
How to Conduct Real-Time Stability Testing?
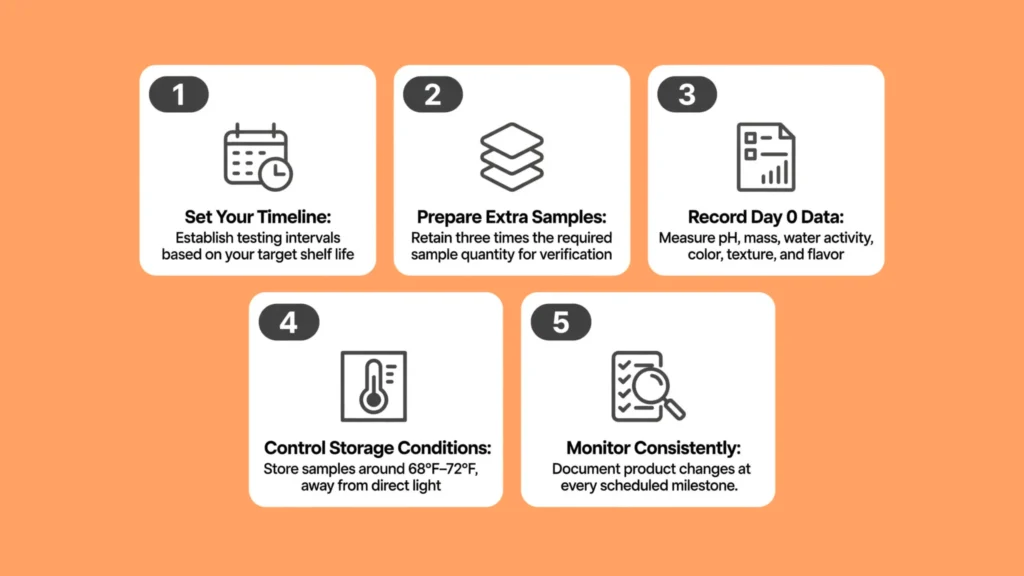
Real-time stability testing involves storing your product under typical distribution conditions and monitoring its quality at predefined intervals over time. This approach ensures your testing reflects real-world pantry and retail storage environments accurately.
To run a reliable real-time test, start by calculating your sample size based on your target shelf life. If you expect a six-month window, sample weekly during the first month, then bi-weekly, and finally monthly. Always retain three times the required samples to guarantee back-up duplicates for verification.
Next, establish your baseline measurements on Day 0 immediately after packaging. Record the starting pH, mass, water activity, color, texture, and flavor profile. Store these samples under consistent ambient conditions around 68°F to 72°F away from direct light, and document all changes systematically at every milestone.
Accelerated Shelf Life Testing on a Budget
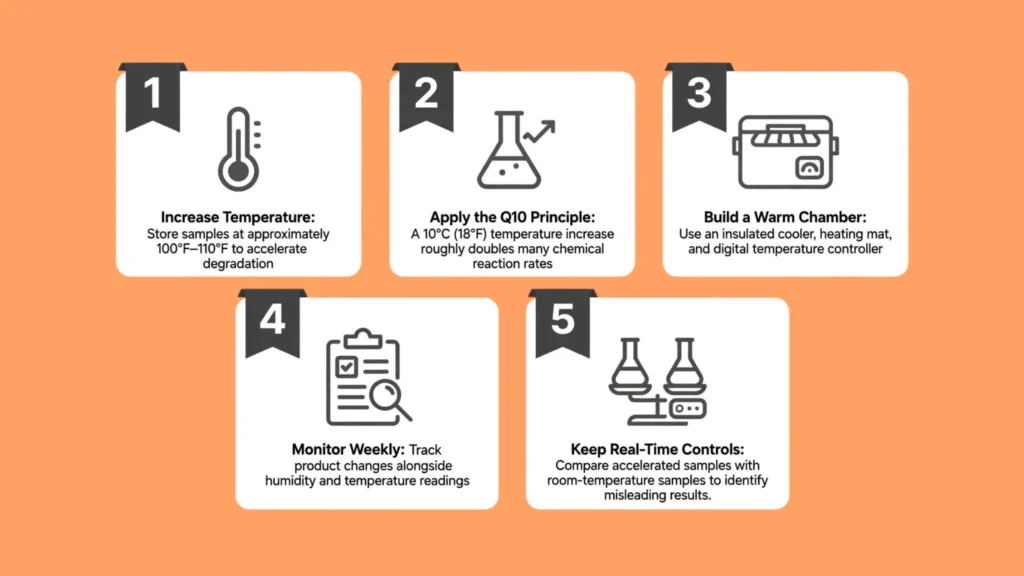
Accelerated testing speeds up degradation reactions by storing products at elevated temperatures, such as 100°F to 110°F. For many chemical reactions in food, a 10°C (18°F) rise in temperature roughly doubles the rate of reaction—a principle known as the Q10 factor.
While accelerated testing is not a complete substitute for real-time testing, it offers a quick predictive snapshot for non-perishable foods.
Setting Up a Simple Warm Chamber
You can build a low-cost testing chamber using a clean insulated cooler or insulated box combined with a low-wattage heating mat and a digital temperature controller.
Set the chamber temperature to 100°F (38°C). Place sealed samples inside alongside a humidity monitor. Every week in the chamber roughly corresponds to four weeks at room temperature for temperature-dependent chemical reactions like fat oxidation.
Caution is necessary when using accelerated methods. High heat can melt fats or break emulsions in ways that would never happen at room temperature, giving a false impression that the product has failed. Always run real-time control samples alongside accelerated tests.
Organizing Sensory and Organoleptic Evaluations
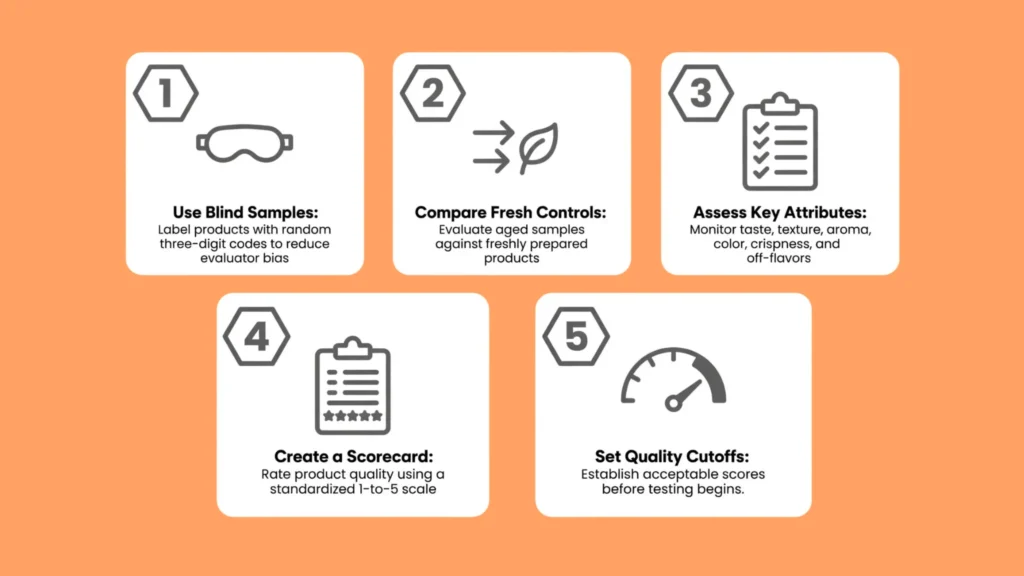
Even if a food item remains microbiologically safe, it fails its shelf life when the quality drops below consumer expectations. Sensory testing, or organoleptic evaluation, measures changes in taste, texture, aroma, and visual appearance.
To conduct objective sensory evaluation at home, use blind samples labeled with random three-digit codes so evaluators remain completely unbiased. Whenever possible, compare the aged sample directly against a freshly made control batch.
Develop a standardized scorecard to rate key attributes like crispness, rancidity, sweetness, off-flavors, and color on a 1-to-5 point scale. Establish clear cutoff scores in advance so you know exactly when a product has reached the end of its acceptable shelf life.
Common Mistakes Small Producers Make
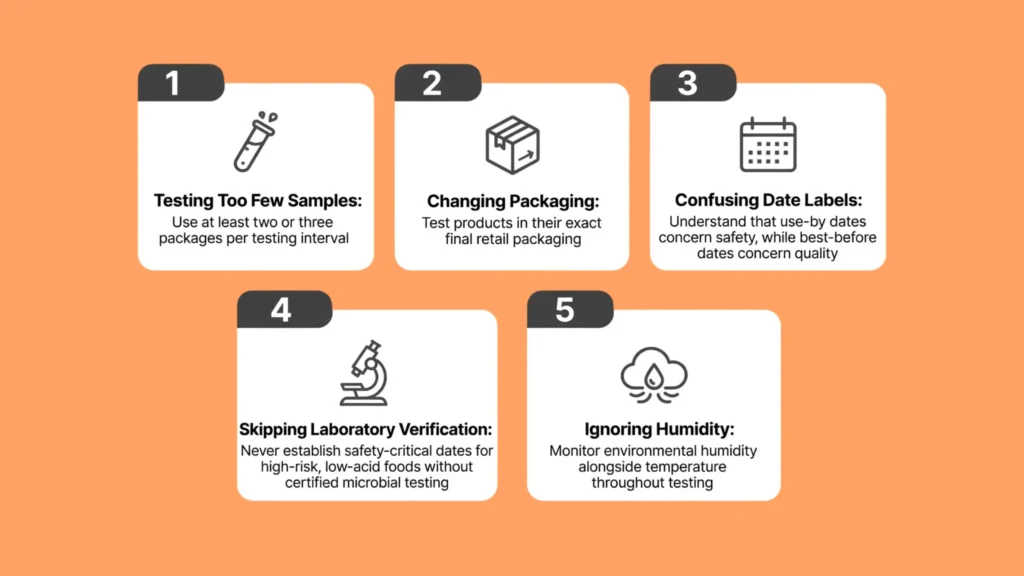
Small food businesses often encounter predictable pitfalls when setting up internal shelf life trials. Avoiding these common mistakes saves both time and financial resources.
Never rely on a single package for a time point. Defects in packaging or slight sealing variations can skew results, so always test at least two or three packages per interval. Additionally, remember that testing a product in a glass jar will not predict how it behaves in a flexible pouch; always conduct shelf life trials in the exact final retail packaging.
Finally, do not confuse expiration dates with quality dates. Use-by dates indicate safety limits, whereas best-before dates indicate quality retention. Do not set safety-critical dates for high-risk, low-acid foods without certified microbial lab verification, and always monitor environmental humidity alongside temperature.
Frequently Asked Questions
What is the difference between water activity and total moisture content?
Total moisture content measures the complete weight percentage of water inside a food product. Water activity measures how freely those water molecules can react and support microbial growth. A food product can have high moisture content but low water activity if ingredients like salt, sugar, or glycerol bind the free water.
Can I legally set a best before date without an accredited laboratory test?
In many regions, food manufacturers are legally responsible for ensuring product safety and accurate quality labeling, but accredited lab certificates are not explicitly mandated for all non-perishable goods. However, high-risk foods—such as refrigerated, low-acid, or fresh products—often require micro-validation from a certified laboratory to fulfill regulatory requirements.
How long should my shelf life testing run?
Real-time stability testing should run for the full duration of your target shelf life plus an extra 20% buffer time. If you intend to claim a 10-month shelf life, continue testing samples up to 12 months to confirm quality remains stable past the target date.
What is the most affordable tool to prevent microbial growth in baked goods?
Controlling water activity is the most cost-effective method to prevent microbial growth in baked goods. Formulating products to keep water activity levels below 0.60 prevents mold growth naturally without relying heavily on artificial preservatives.
Is accelerated shelf life testing accurate for all food products?
Accelerated testing works best for dry, stable, or low-moisture products prone to oxidation or physical degradation. It is not accurate for high-moisture foods, emulsions like mayonnaise, or heat-sensitive ingredients, as high temperatures alter the physical structure of these foods in ways that room-temperature storage would not.
How does packaging material influence product shelf life results?
Packaging materials act as the primary barrier against oxygen, light, and moisture transfer. Changing from a high-barrier foil pouch to a clear plastic bag drastically increases exposure to light and oxygen, which accelerates rancidity and shortens shelf life even if the food formulation remains identical.
Conclusion
Conducting effective shelf-life testing protocols for food products does not require an enterprise budget. By understanding how water activity, pH, and environmental controls interact, small producers can build rigorous in-house stability testing programs.
Combining accessible digital tools, accelerated warm-box setups, disciplined real-time observations, and structured sensory panels provides the clear data needed for confident best before date setting. Taking control of your product testing protects your brand reputation, minimizes waste, and ensures consumers receive high-quality food with every purchase.
About The Author